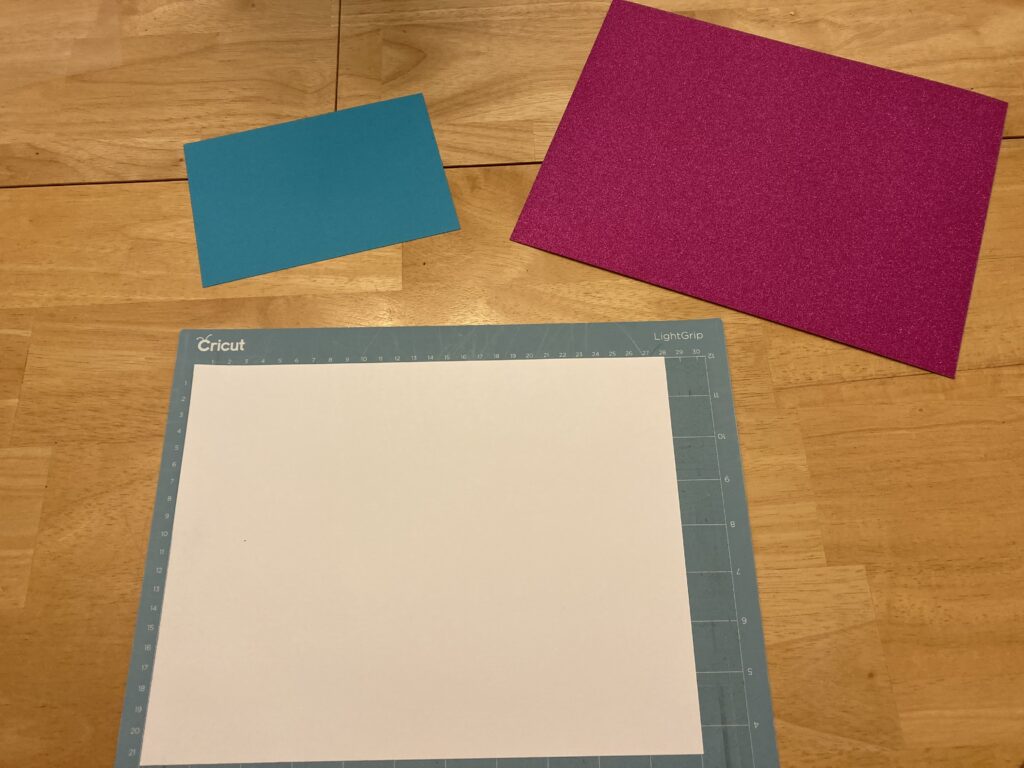
I decided to make my first project a simple one, a greeting card. The one I made is a birthday card. I used the following materials: white card stock, blue card stock, pink glitter card stock, and my LightGrip mat.
Below is a video of how I used Cricut Design Space to create my card.
Here is a time-lapse video I took on my phone of what the Cricut looks like when it cuts out a project.
From doing this project, I made a couple of mistakes but they made good learning opportunities. First of all, I initially made the card too small. When I pulled out my paper I realized I designed the card to be too small, that’s why I resized it in the video. My other mistake came when I tried to cut out my glitter card stock. I tried it first on my LightGrip mat but the Cricut destroyed my paper. Turns out the mat was not strong enough so the paper was loose on the mat. I then tried it on my StandardGrip mat and it worked perfectly. So if you ever try a similar project, anything glitter must be on a StandardGrip mat or a strong mat, LightGrip does not work.
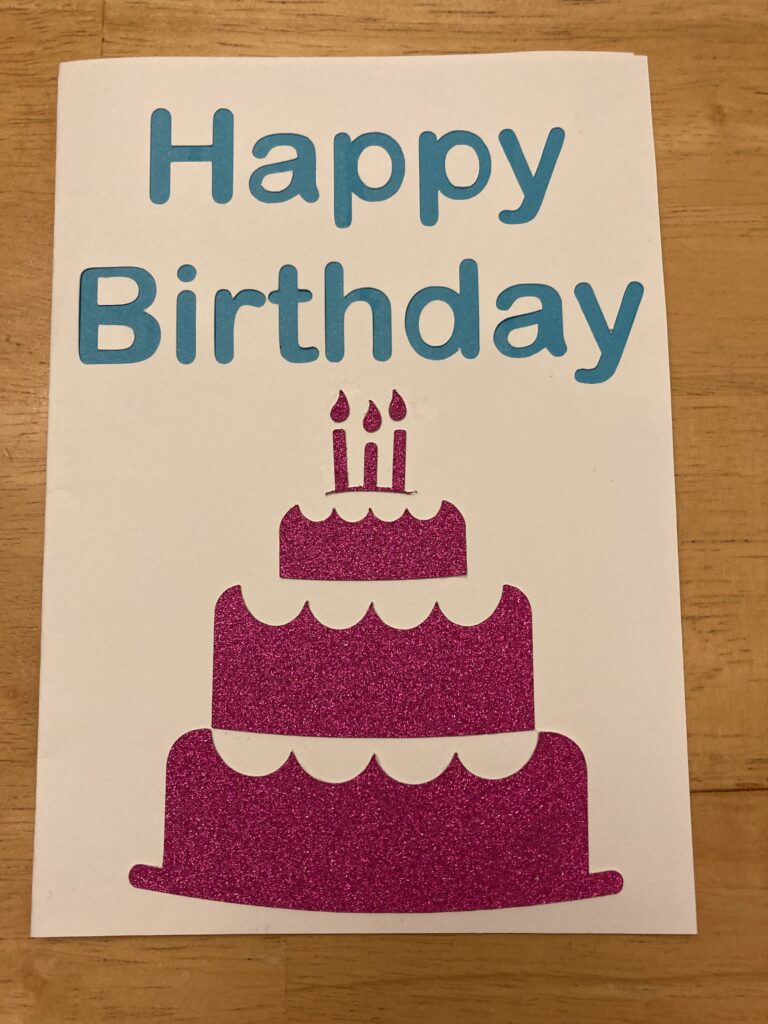
After cutting out all my pieces, I glued the blue paper (which was perfectly sized) onto the inside of my white card. Then I had to glue in the little circles in the a, p, b, and d which had been cut out. Finally I glued on my glitter cake resulting in the card below. This website also has some great ideas for cards you can make with your Cricut https://domesticheights.com/cricut-cards/.
6 February 2022 at 5:50 pm
Hi Kasey,
I love that you included a time lapse video I think that’s a fun way to show how the Cricut works and the overall process! Its great that this inquiry is giving you the chance to be so creative and really play around with what you can do with the Cricut. Have you decided what you will make or try next with the Cricut?
Great work this week!
-Lucy
9 February 2022 at 12:01 pm
Hi Lucy,
I am still deciding what projects I want to do with my Cricut. I am trying to make things using materials I already have but I am also tempted to buy new things so I can try out different projects. There are so many possibilities so it can be a bit hard to decide what to do.
-Kasey
9 February 2022 at 10:41 am
Hi Kasey,
Thanks for the video explaining the process of designing your card. I was wondering if you needed Photoshop to design your projects or if there were pre-design patterns, so it was really nice of you to show step by step how to design a card with a Cricut. I loved the interactions along with the 1st video, I think I got them all wrong LOL but it was fun. And how cool it was to see your Cricut in action!
Your card looks great! I can’t wait to see your next project.
-Reyna-
9 February 2022 at 12:07 pm
Hi Reyna,
When you buy a Cricut it requires a specific program called Cricut Design Space in order to make anything. I believe you also get one month free with Cricut Access which allows you to use all of the images and projects available on Cricut Design Space. No other programs liked Photoshop are necessary.
Currently I do not pay to make things, I just use what is free on Cricut Design Space as I showed in the video. You get more options if you want to pay monthly but you can also buy individual images or fonts if you do not craft often enough to buy the subscription.
-Kasey