Materials
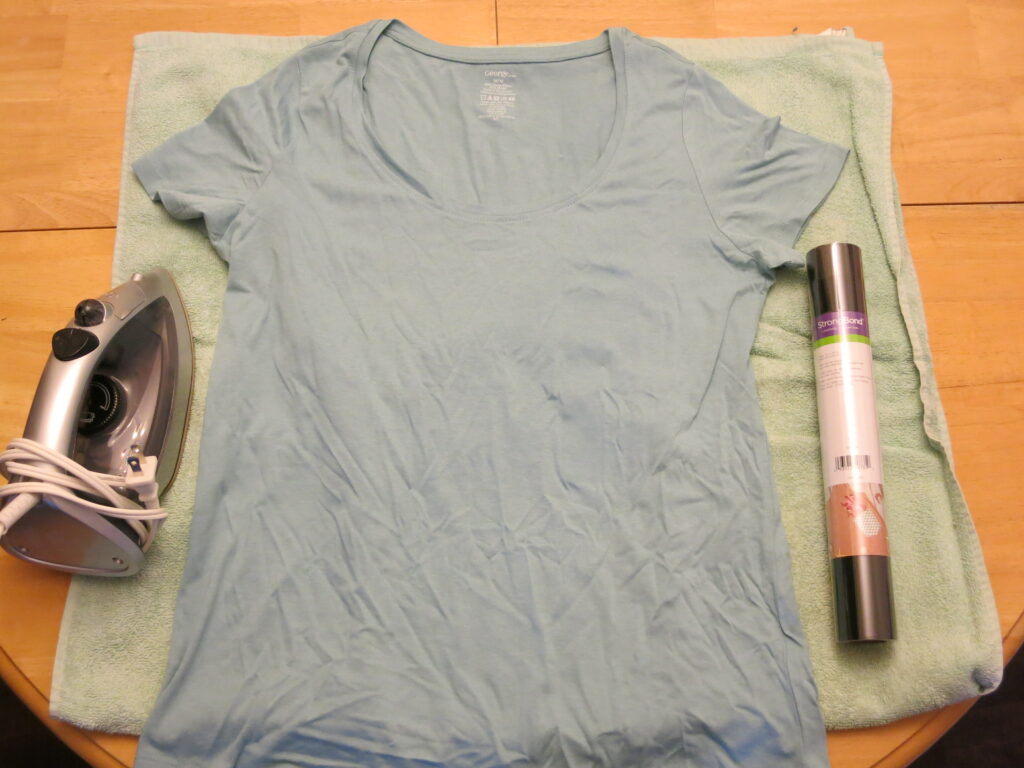
For my project I will be making a T-shirt with my Cricut. What I mean by that is I will be cutting out text or images with my Cricut and transferring that onto a T-shirt with an iron. The materials needed are: a T-shirt, iron-on vinyl, a StandardGrip mat, a weeder tool, and an iron. For ironing you should use an ironing board but if you do not have one, you can put a towel under the shirt to protect the surface you are working on.
Creating the design
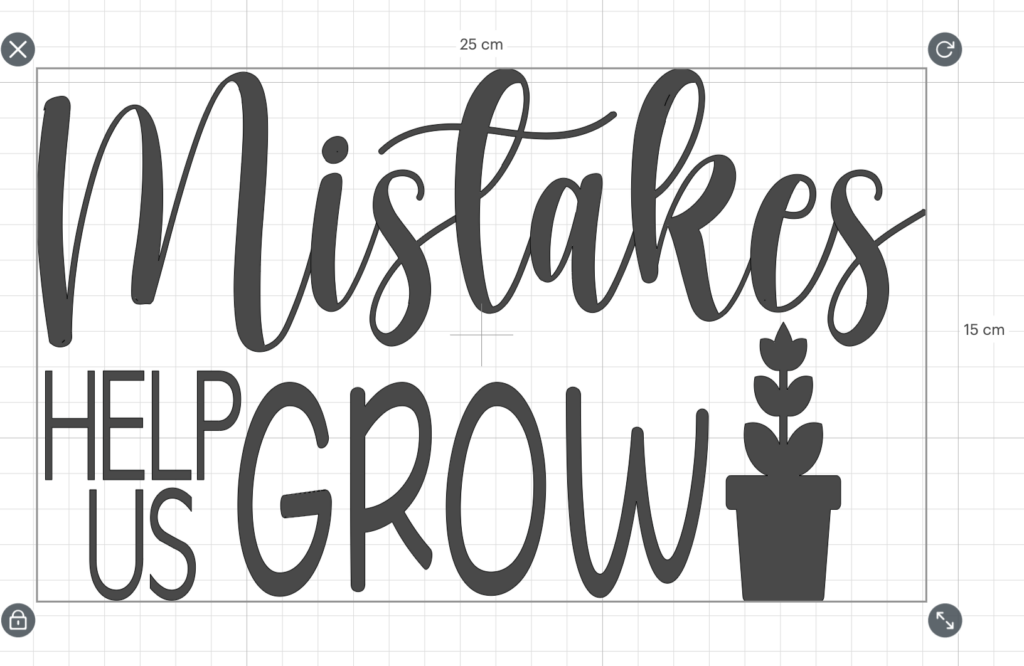
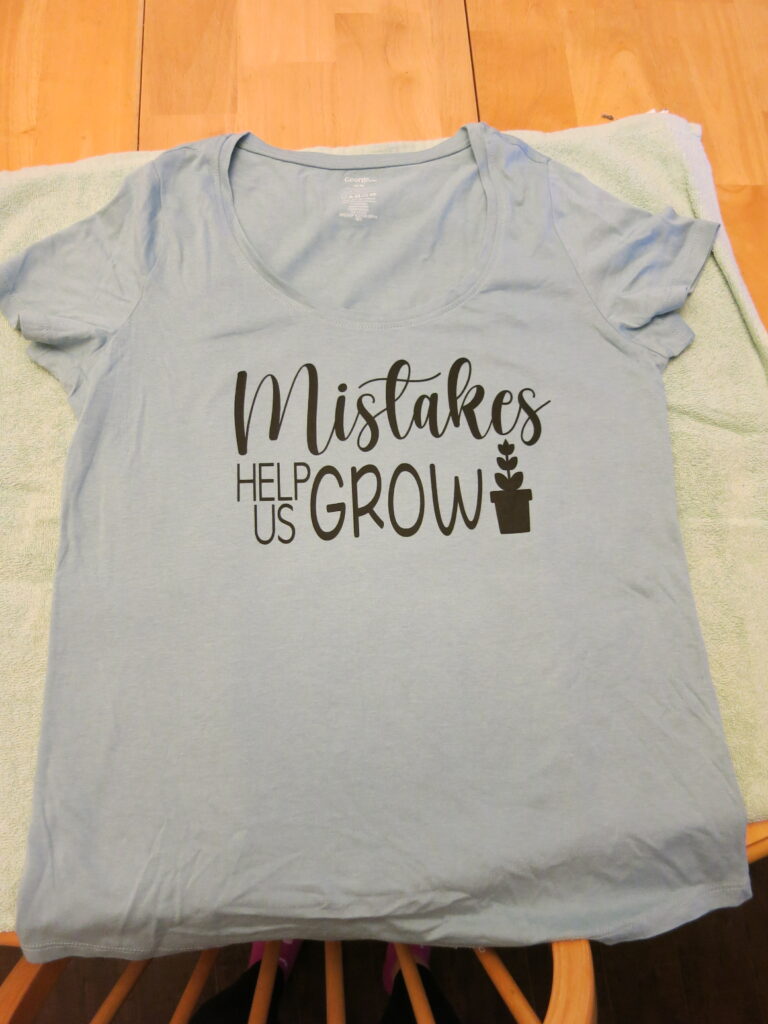
I used Cricut design space to type out a cute saying then I found a free picture of a plant to add to my design. I selected everything and pressed attach so everything would be cut together instead of cutting each word separately then arranging them on my T-shirt. I measured my T-shirt then resized my design to be 25cm by 15cm. Then I clicked on the green “make it” button in Cricut design space.
Iron-on vinyl
There are a couple of important things when you are working with iron-on vinyl. Firstly, after clicking the green “make it” button, you need to mirror your image. You can see mirror in the side bar under the mat, just click on the switch below it so it is green (like in the picture below).
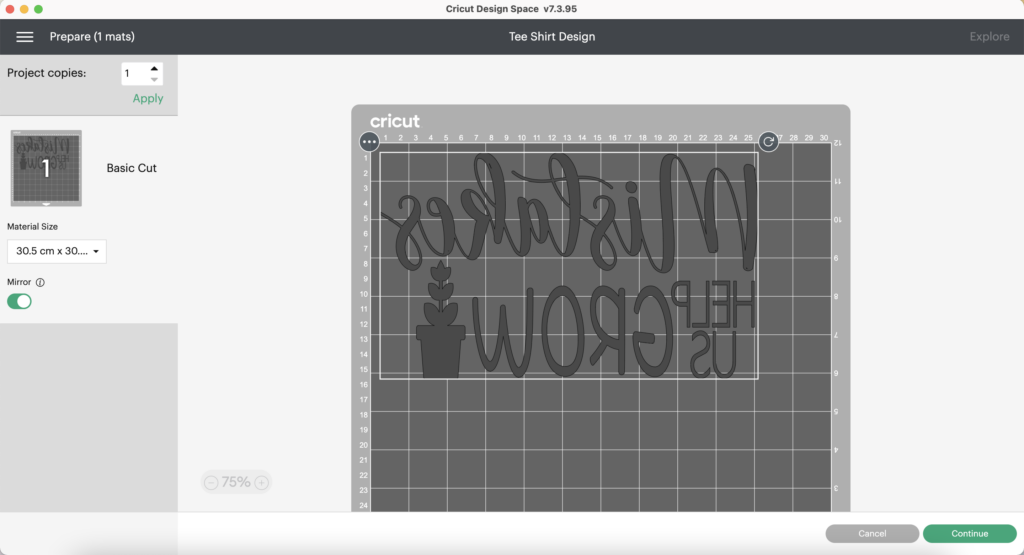
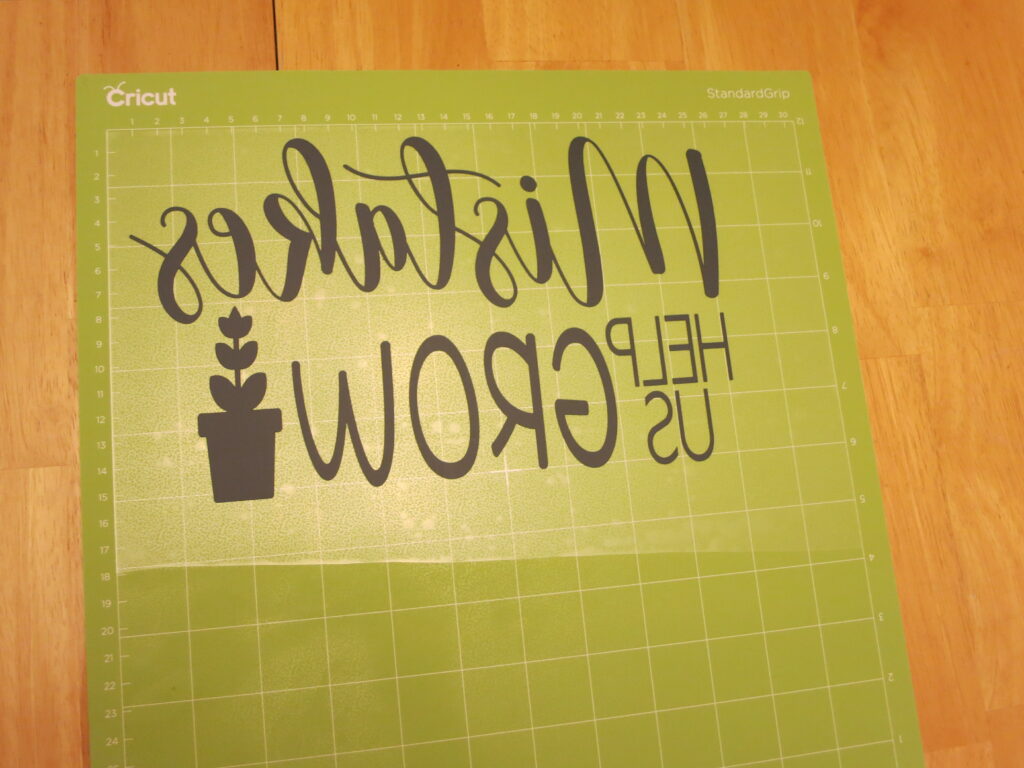
Secondly, make sure you set your Cricut’s dial to iron-on vinyl. When you do this, the program will remind you that you need to mirror your design and place your iron-on vinyl shiny side down. Finally, your iron-on vinyl must be shiny side down on the mat. The coloured material is attached to a clear backing. If you put it dull side down, then you will not be able to get the extra vinyl off the backing thus ruining your design. If everything has been done correctly and you have weeded (gotten rid of extra vinyl) your design, it will look like the picture below.
Making the T-shirt
I have only made a T-shirt once before, so I followed this tutorial https://sarahmaker.com/make-cricut-shirts/ to help me iron the design onto my shirt.
The first step is to iron your T-shirt for about 10 seconds to get it smooth and ready for the vinyl. Then you place the iron-on vinyl shiny side up onto your T-Shirt. Heat up your iron so it is on the cotton setting which is usually the highest heat it goes. Then you apply heat to the vinyl with low pressure for 30 seconds. Then you flip over your shirt and apply heat to where the vinyl is with low pressure for 15 seconds. I was using everyday iron-on vinyl which needs to cool before you can remove the clear backing. Once it is cool, peel off the backing and your shirt is done. For T-shirt care wait 24 hours before washing the shirt. The shirt can go in the washer and dryer but flip the shirt inside out before washing.
24 March 2022 at 10:23 pm
Hello, Kasey.
I was surprised to see the photo of your iron-on–I though Cricut machines could print as well! I went back to your masterpost, and there was a mention of “accessories” and “pens” (with a photo of several such, each with the Cricut logo on them), so I guessed I hadn’t made the connection… I had supposed the name “CriCUT” locked me into thinking that it could only cut out shapes.
Reading the sarahmaker blog you linked, however, made me realise that the Cricut was cutting through the opaque vinyl layer, but not the clear backing… or at least that’s how I now understand it. I’ve never made any T-shirt, so I had no reference at all. Perhaps a picture or two of the intermediate step of peeling off the cut-out vinyl would have made things clearer? I was confused for a good while.
I think you chose a very [i]apropos[/i] design for your T-shirt–growth mindset and all that. I like how you personalised the design by adding an image to the slogan, and the image of a plant, specifically, is well suited to the theme.
I also liked the first picture, which illustrated what was needed, including how to iron without an ironing board. It was good of you to provide an alternative.
And hey, you got a nice new t-shirt out of it!
– Emmanuel
25 March 2022 at 1:41 pm
Hi Emmanuel,
I used an iron-on material and cut an image out of it so no printing occurred on this project. The material had the black colour attached to a clear backing so the Cricut cut the image out of the black colour and I removed the excess, leaving just my design and the clear backing. I apologize if it was not clear in the post. This is my second time doing this kind of project so I am still just learning myself.
-Kasey
25 March 2022 at 12:13 pm
Hi Kasey,
I love your t-shirt design, it looks so neat! I have seen this kind of t-shirts and typography on Etsy, but the prices are insane! I like how flexible your circuit is and the endless projects you can make with it. Also, I like how you have explained the process, It is easy to follow and understand. My only wonder is, how durable the iron vinyl is after putting the t-shirt in the washing machine/dryer? well, I guess you’ll know that overtime.
25 March 2022 at 1:45 pm
Hi Reyna,
The durability depends on what kind of iron-on vinyl you use. Mine was the StrongBond type which is supposed to be long lasting. The Cricut website claims it last for more than 50 washes, I have not tested that claim as I have not washed it 50 times yet lol. It is also washer/dryer safe as long as you turn your shirt inside out when it is in the machine.
-Kasey